

Esse vem lá da Love Maegan (gente, que criatura criativa neh??? afffffe!), e serve super pra usar no verão eterno do Brasil (ok, pra quem não vive no sul neh?)...hehehe...achei tão lindo e tão prático de fazer qu trouxe pra vocês...ó:
Wedding Shrug DIY for Brides or Maids ...progression {it's not finished}
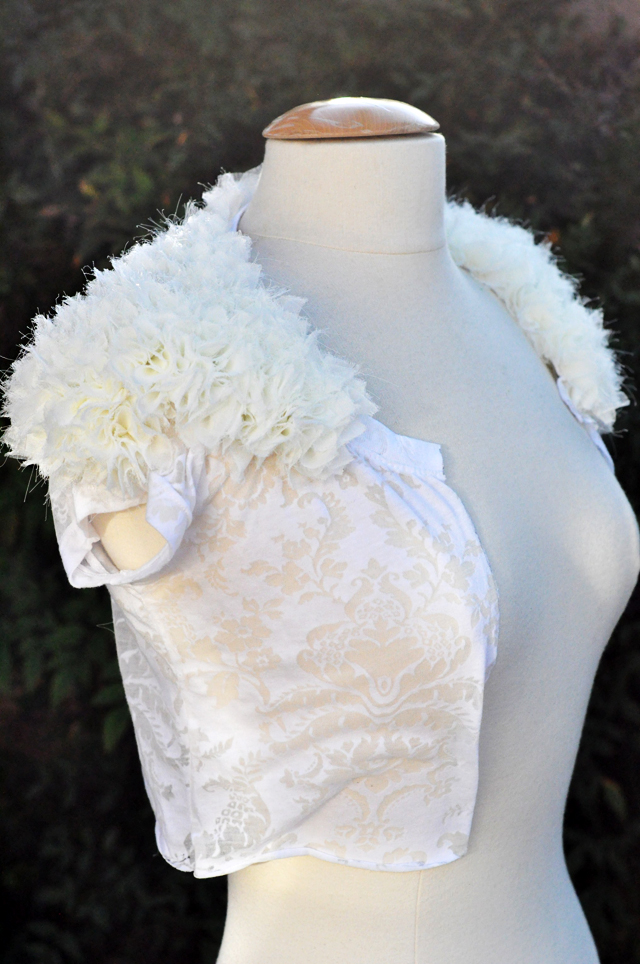
I began this project at the end of September 2010 ...got a shoulder done and realized just how time consuming it actually was. I worked on it Sundays during football through the end of October but then the Holidays hit and I haven't had a second to revisit the project since {especially knowing there was no end in sight}. I truly am in love with it however and will finish it ...eventually. I thought it would be a perfect DIY if you're getting married next Fall or Winter ...begin now and you'll be done by then!

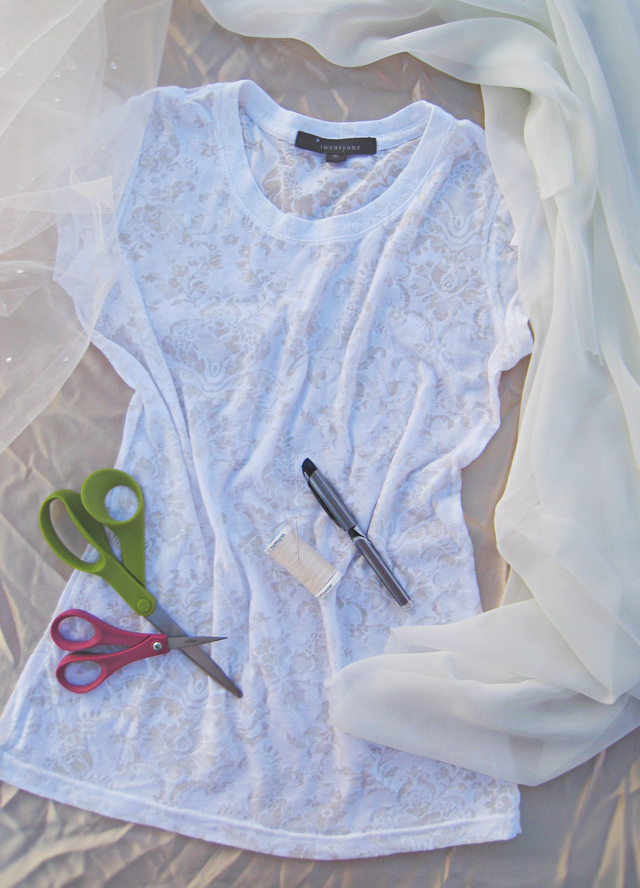
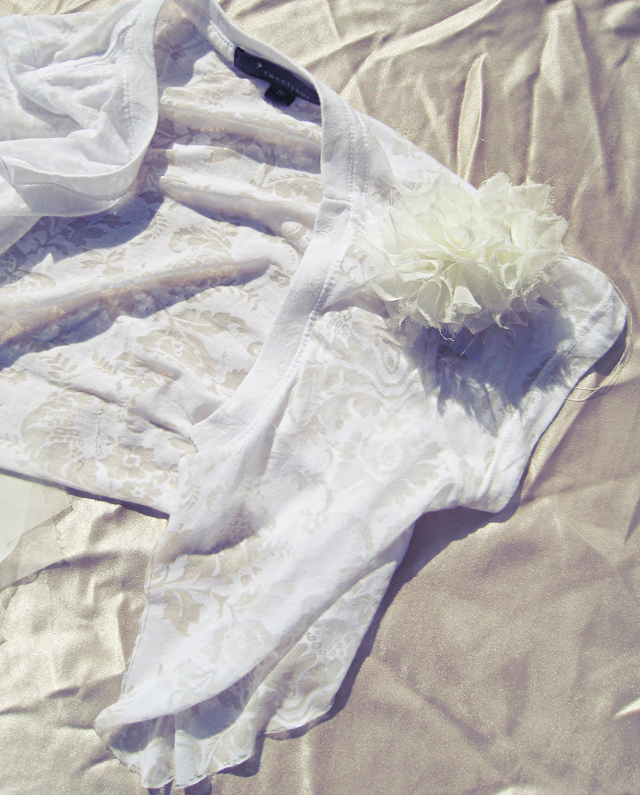
* A fitted white or ivory T-shirt ...preferably with cap sleeves. You may also choose to use a jacket or shrug you already have and/or sew one up yourself if you've got the skills. However, the T-shirt works quite well. I used the burnout one because it's the only one I had.
* 4-10 yards of sheer fabric - I've gone through about 2 yards so far, depending on how close you're stitching your fabric pieces together, you'll need more or less than 8 yards. I may need 10yards at the rate I'm going. I'm using a sheer polyester in ivory
* Pen/Scissors/Matching Thread and needle
{This would also be adorable for all your bridesmaids in a similar or lighter hue to the dresses they're wearing, especially if they're strapless}
* This is the same technique as my Baby Couture Ruffled Onesie & my Pouf Sleeve Top

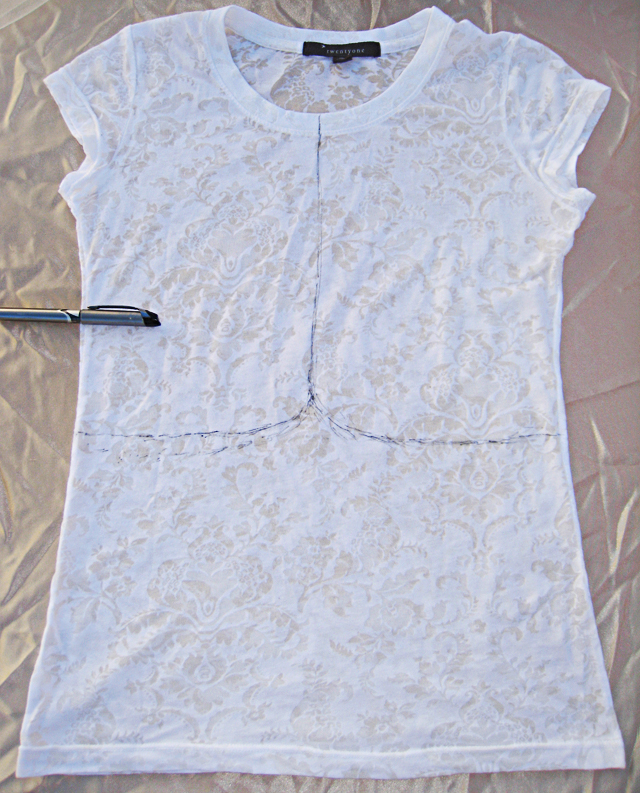
* Sketch an outline of your shrug on your T ...try it on first and mark just below your bust as where you'll draw the length out. It will shorten a bit but it's always better to start out long and trim away than do all the work and have it be too short or too small. Draw a straight line down the center ...and a corresponding line across the back as well. NOTE: If you have a shrug or jacket already, skip this step, obviously.
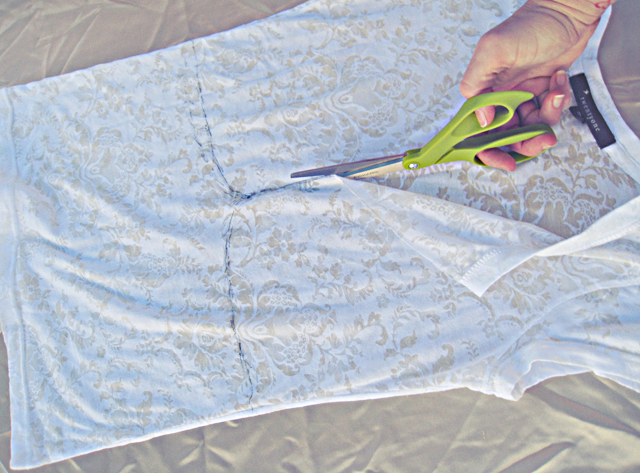
* Cut along your pattern.
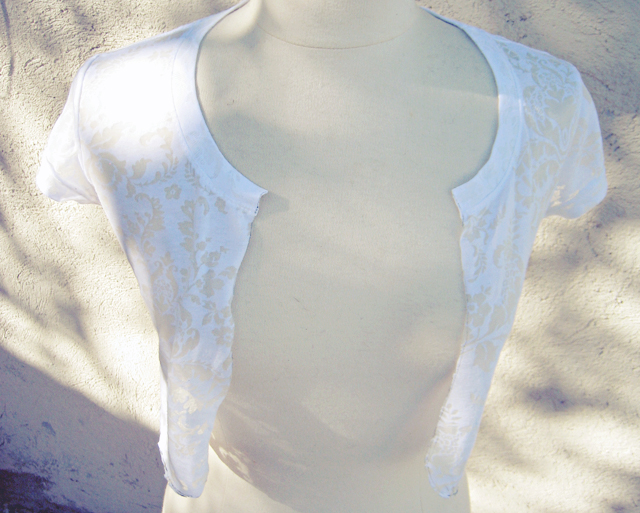
* This is how it should look
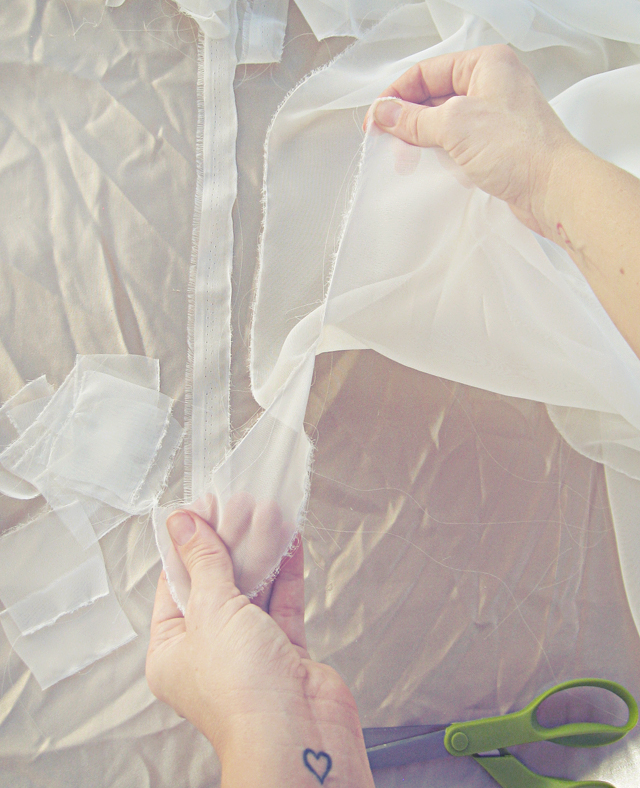
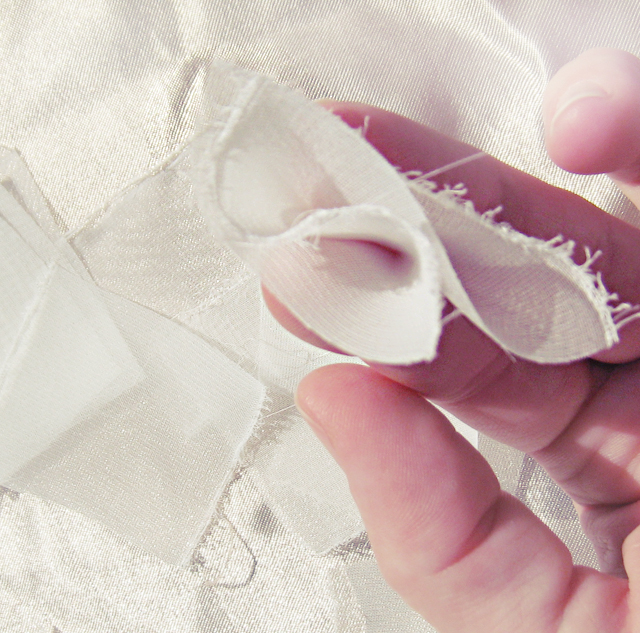
* Snip and Rip your sheer fabric, beginning by removing the selvage. You want the frayed edges. Don't worry about they fraying too much. This is what gives it that romantic/vintage look. Make your strips about 2 inches wide.
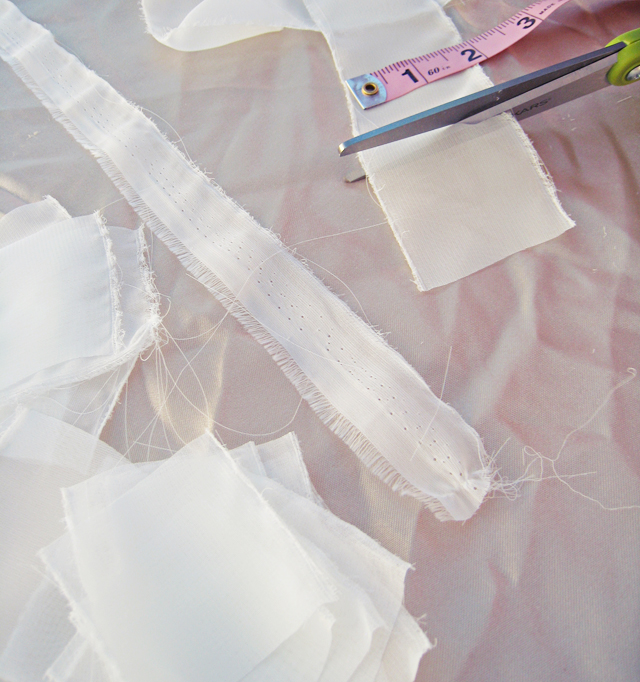
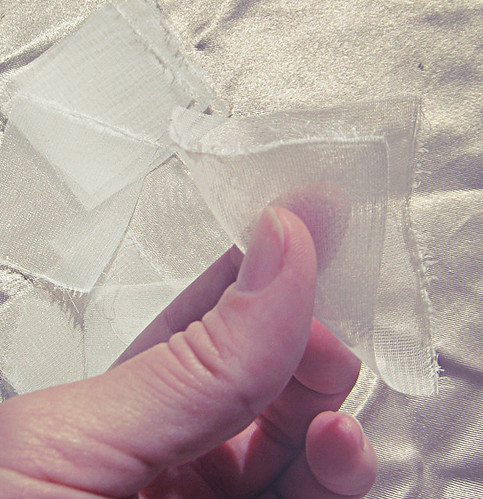
* Create approximately 2x2inch squares by cutting down your strips.
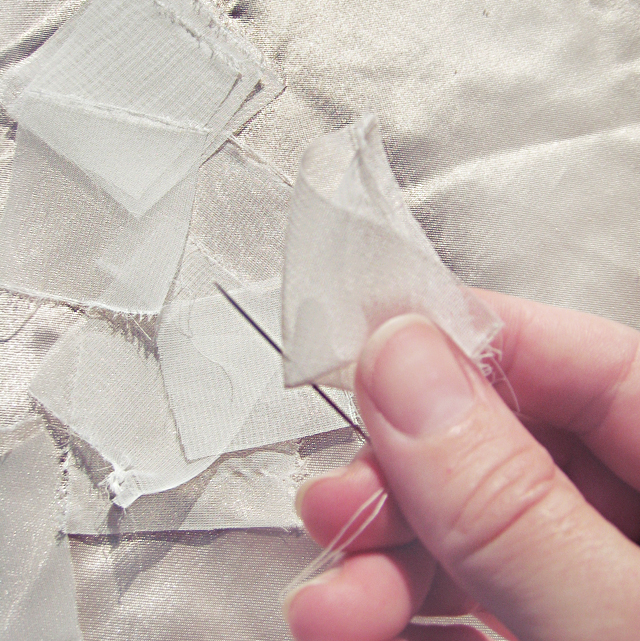
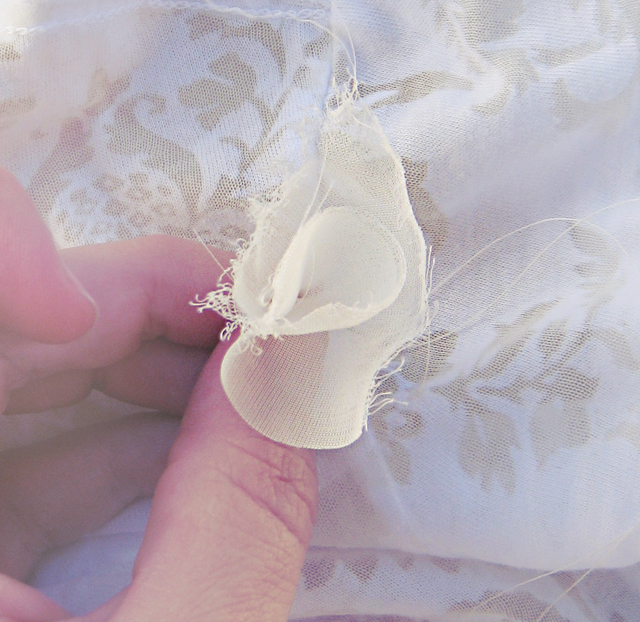
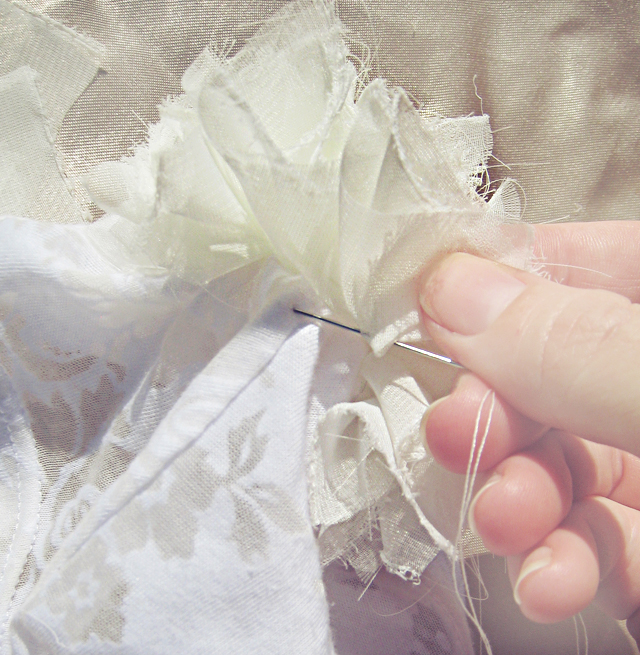
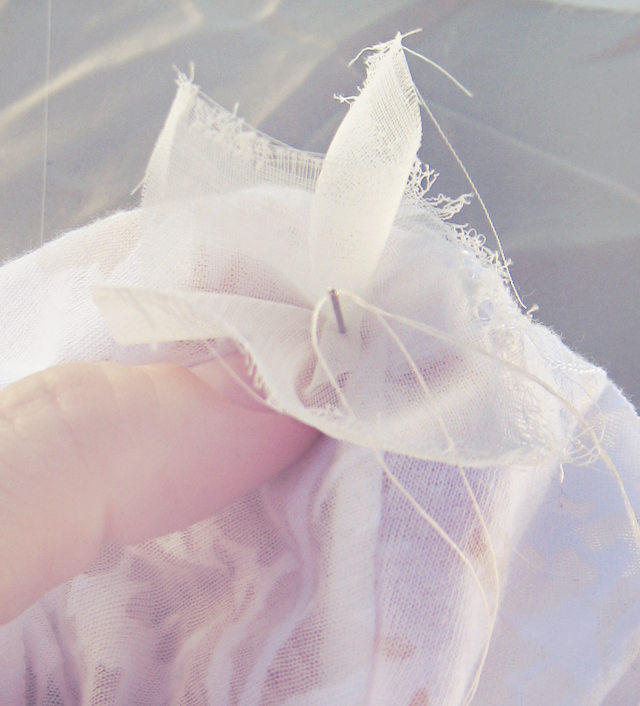
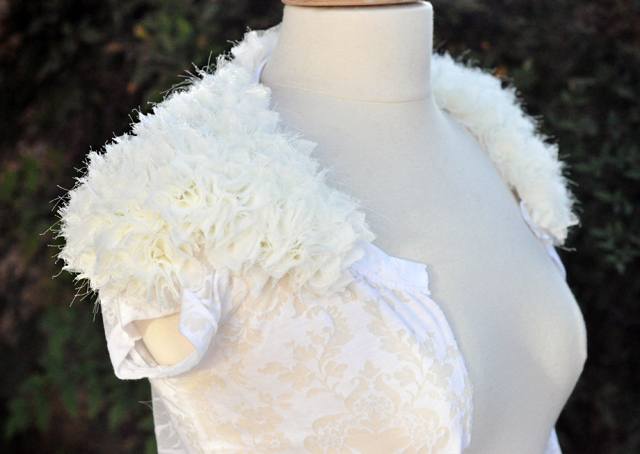
* Begin stitching at the top of your shoulders and work down and out. Your squares should be close enough together that no part of the t-shirt is visible through. AND you're going to do THE ENTIRE T-SHIRT. No t-shirt will be showing when it's complete.
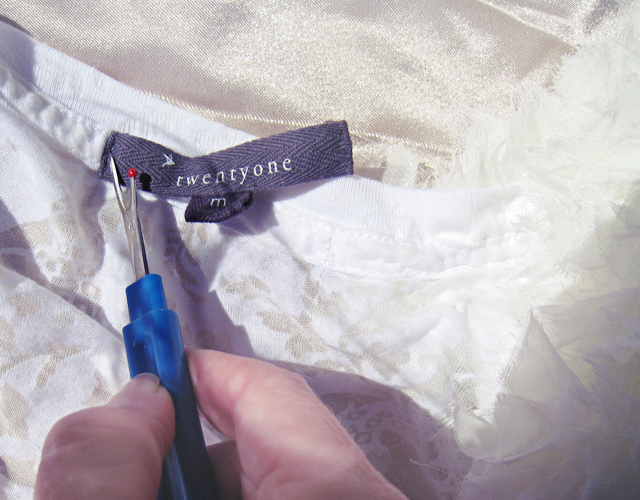
* Remove the tag with a seam ripper :)
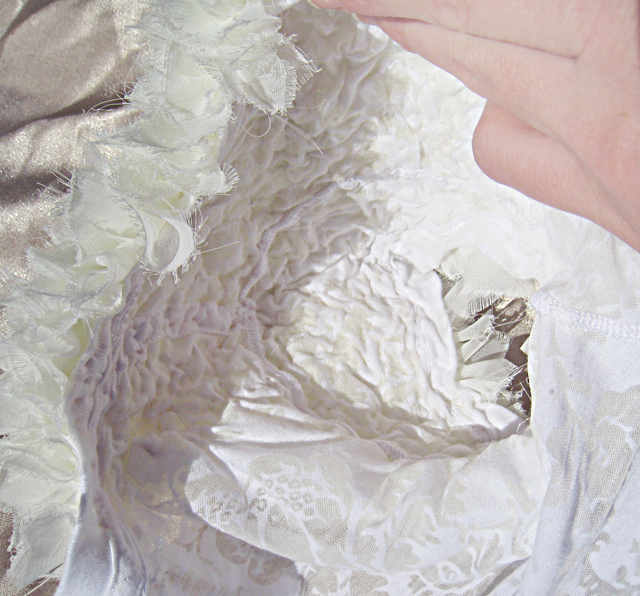
* The underside will look a little like brains. Make sure while you're stitching that you're not pulling or gathering the t-shirt. Once you have enough done, the shirt will feel thicker and sort of morph into molded creation ...if that makes any sense. {also, if you've got skills, you can line it and hide all of this}
 . . . though I'm nowhere near finished!
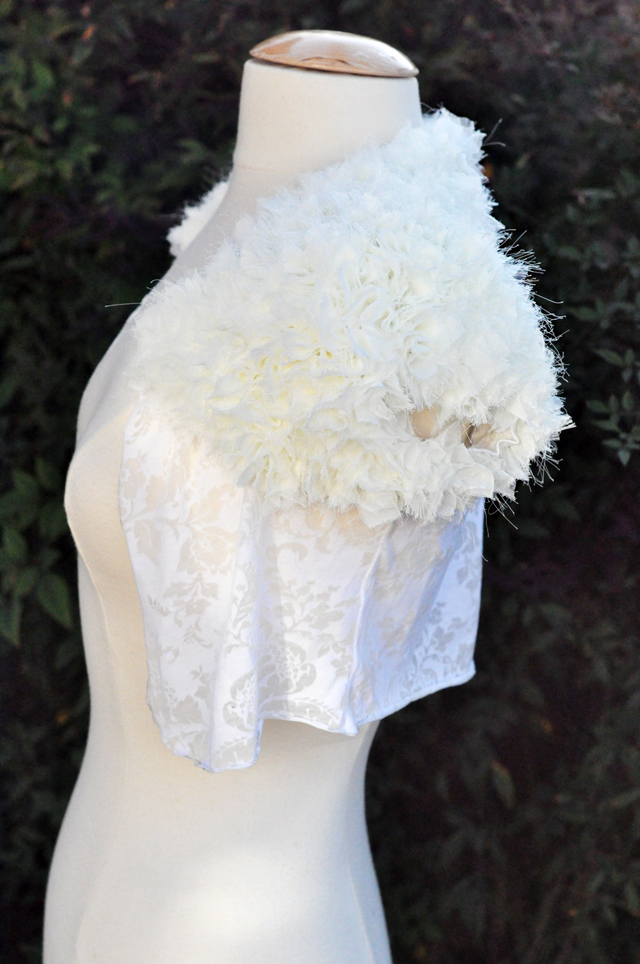
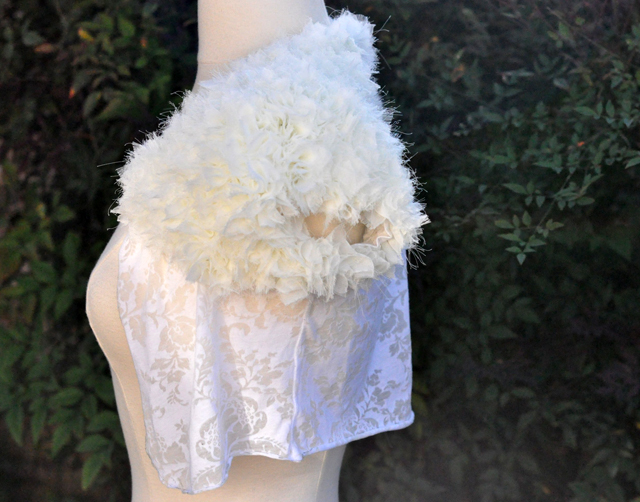
Yes, this project will take you forever - that's a lot of shirt to cover ...so start now!
Have Fun!
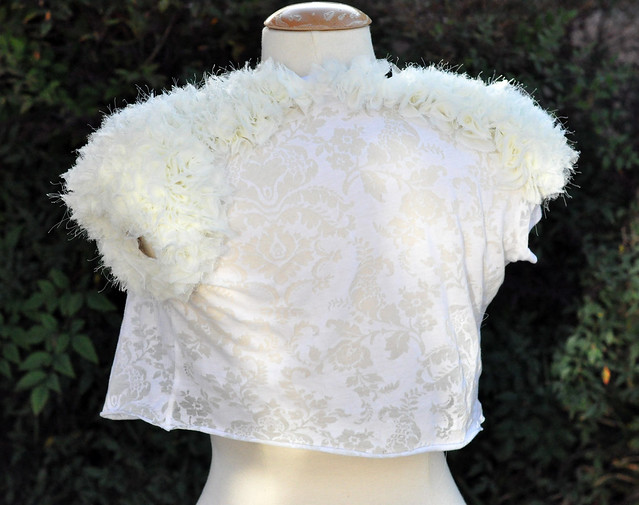
* I will publish a final post with photos when I finish ...hopefully before Summer!

Amei!
ResponderExcluirDescobri seu blog ontem...
Adoro fazer e customizar coisas!
Beijos