Headband armadinha
Lá do Tongue in cHIC, um blog muito diferente e cheio de coisas bacanas, veio essa idéia meio maluquete...mas que eu já imaginei em mim! hahahahha...vou deixar em inglês mesmo, porque acredito que as imagens são auto-explicativas...neh??? Olhem só:
DIY: Bow Headband
So ever since Marc Jacobs started this cute litte trend almost ages ago, I was just waiting to see if this was going to turn into a huge love frenzy or into a fad joke. But with each passing months, more pages are featuring it and more people are donning it. So if you have decided to jump in the bandwagon, here's one DIY ala Marc Jacobs Bow . I know I have!
Materials:
- Electric wire.
- Scissors.
- Fabric of choice.
- Sewing machine/ needle and thread.
- Electric wire.
- Scissors.
- Fabric of choice.
- Sewing machine/ needle and thread.
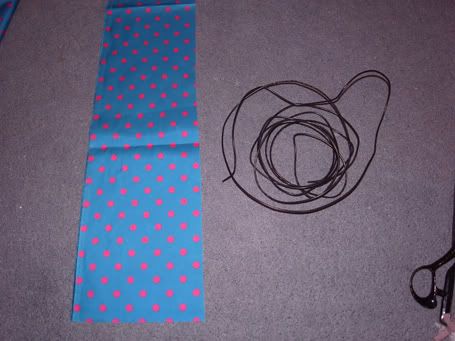
Step 1:
- Cut fabric into a rectangular shape. The measurements are really up to you just as long as the length is long enough for you to go around your head and tied into a "bow". (mine was approx 5" width x 25" length).
- Cut fabric into a rectangular shape. The measurements are really up to you just as long as the length is long enough for you to go around your head and tied into a "bow". (mine was approx 5" width x 25" length).
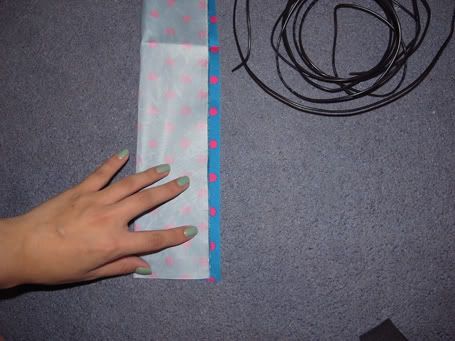
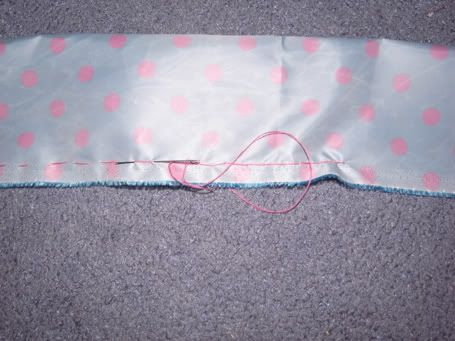
Step 2:
- Fold in the right side of the fabric as shown above and sew the edges from top to bottom leaving at least 1/2 inch allowance at both ends.
- Fold in the right side of the fabric as shown above and sew the edges from top to bottom leaving at least 1/2 inch allowance at both ends.
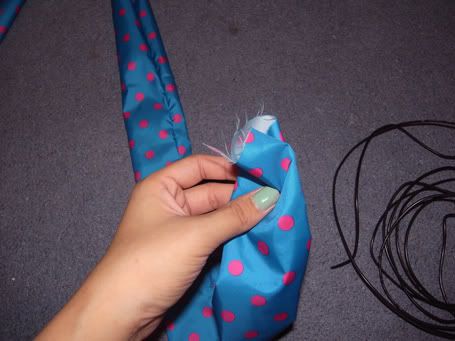
Step 3:
- Turn it inside out and start working on your wire.
- Turn it inside out and start working on your wire.
Step 4:
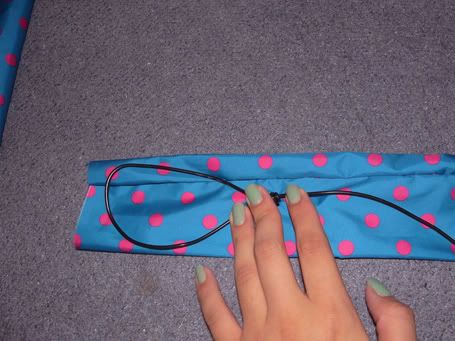
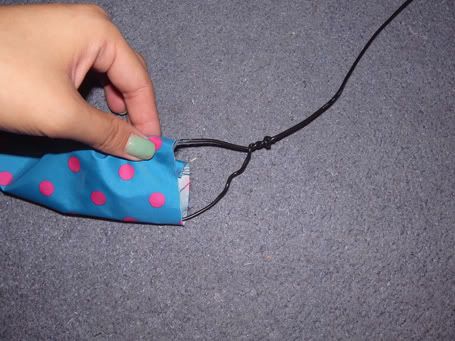
- Measure and twist the wire to make a "bow" according to your fabric size.
- Measure and twist the wire to make a "bow" according to your fabric size.
Step 5:
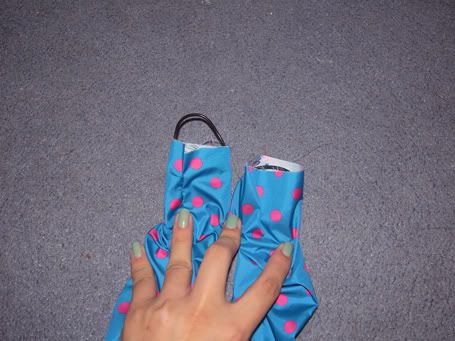
- Put the wire through the fabric and make sure that the wires are visible at both ends.
- Put the wire through the fabric and make sure that the wires are visible at both ends.
Step 6:
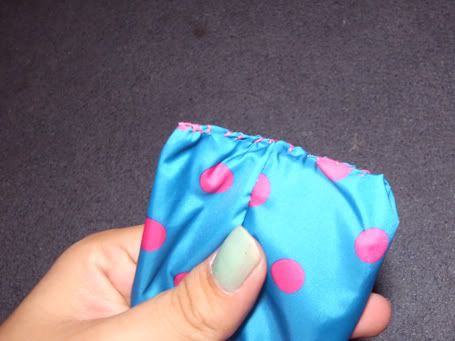
- Fold in the 1/2 inch allowance and sew it to cover up the opening.
- Fold in the 1/2 inch allowance and sew it to cover up the opening.
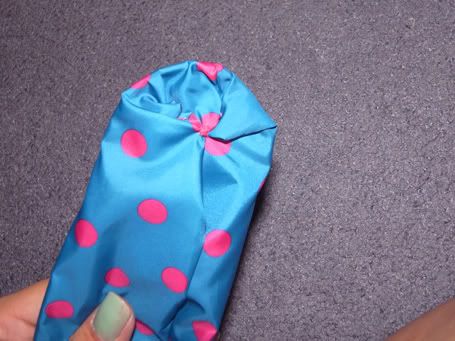
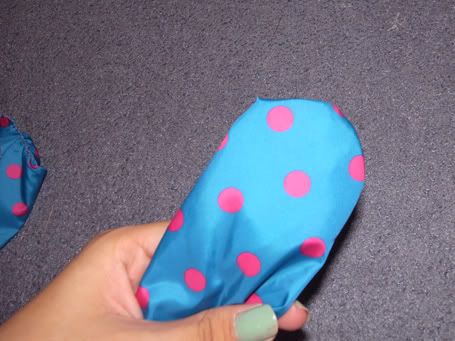
Step 7:
- This is optional, but if you could also bundle up the sides of the fabric until you can see your initial wire frame inside and sew it together.
- This is optional, but if you could also bundle up the sides of the fabric until you can see your initial wire frame inside and sew it together.
That's it! Enjoy!



0 comentários:
Postar um comentário
Ola! Seu comentario é muito importante para que o blog cresça cada dia mais! Muito obrigada!!!! Qualquer dúvida, envie um email que a gente responde, ok?